
Chicken coop lighting for egg production
Chicken Coop Lighting For Egg Production
I’ve raised laying hens on our little patch of ground here in the States for more than thirty years. I’ve seen winters that froze the water solid by breakfast and summers when the hens went on strike from the heat. One thing has stayed true: when I manage the light inside the coop right, the egg basket stays a whole lot heavier.
In this guide I’ll walk you through how to use chicken coop lighting for egg production without confusing jargon, just the kind of plain talk you’d hear leaning on a fence post. I’ll share what’s worked, what failed, and a few mistakes I’d rather you didn’t have to learn the hard way.
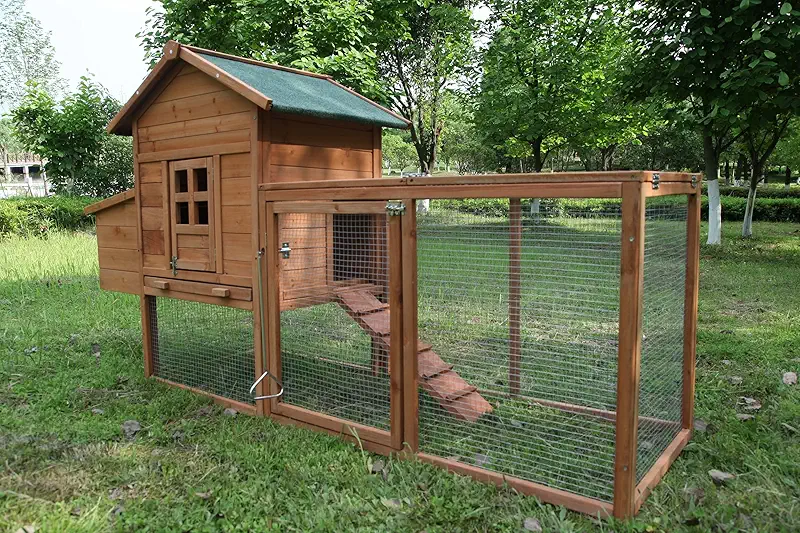
If you’re already thinking about tweaking your coop lighting or maybe picking up a better setup, take a quiet minute to look through some ready-to-go options that match what we’ll talk about here.
Let me browseWhy light matters so much for laying hens
Hens don’t read calendars. They read daylight. Their bodies listen to how many hours of light they get, and that signal tells them whether it’s time to lay or time to rest. Out on the farm, I used to blame cold weather for my winter egg slump, but the truth is, it was the short days doing most of the talking.
When daylight drops under about 14 hours, many breeds simply slow down or stop laying. They’re not being lazy; they’re doing what nature built them to do. If you’re depending on those eggs for family, market, or a little extra cash, that slowdown really shows up in the basket.
Using chicken coop lighting for egg production isn’t about “tricking” hens, it’s about giving them a consistent rhythm. Think of it like setting a gentle, steady alarm clock instead of letting the sunrise jump around all year.
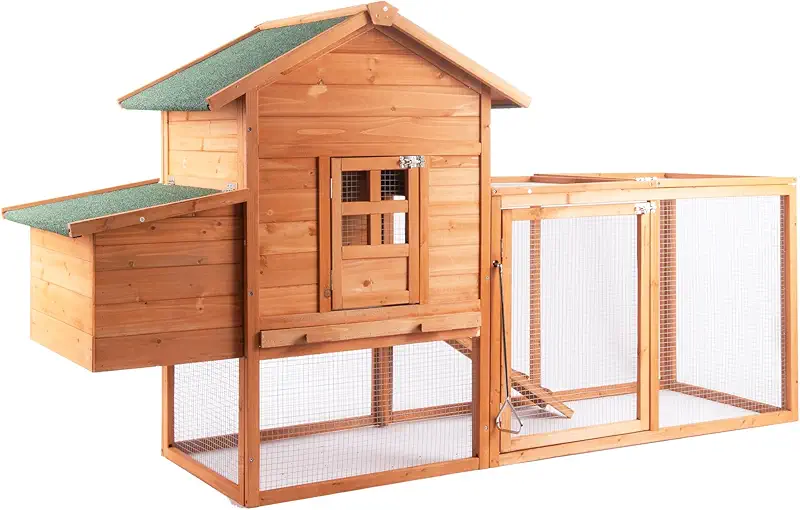
The sweet spot: hours of light per day
Over the years, I’ve settled on a simple rule: aim for 14–16 hours of total light per day for steady egg production. I’ve tried more, and I’ve tried less. When I pushed over 16 hours, the hens started to look worn out. When I let it slide under 13, the egg count reminded me pretty fast.
Here’s how that usually looks in practice:
- Winter: Add enough artificial light to reach about 14–15 hours total.
- Spring and fall: You may not need much extra, just top up early or late in the day.
- Summer: Often no extra light at all, just shade and airflow so they don’t overheat.
Best types of chicken coop lighting for egg production
When I first wired my old barn, I used whatever bulb was on sale. That worked about as well as you’d guess: flickering light, burned-out bulbs in the middle of a snowstorm, and a coop that felt more like a gas station than a henhouse.
These days, I’m pickier. The right type of light makes the coop calm, safe, and easy on your electric bill.

LED lights: my go-to choice
For most folks, LED lighting is the best choice in the coop. Here’s why I lean that way:
- Energy efficient: They sip power instead of gulping it.
- Stay cool: A big deal in a dry wooden coop full of feathers and bedding.
- Long life: Less climbing around in the cold changing bulbs.
- Steady light: No buzzing or flickering like old fluorescent tubes.
When you look at chicken coop lighting for egg production, focus on warm white LEDs around 2700–3000K. That color feels closer to sunrise or early evening, which keeps the birds settled. I’ve found that very harsh, bright-white light can make the coop feel edgy, and edgy chickens find trouble.
How bright should coop lighting be?
You don’t need stadium lights. In fact, your hens would hate that. I aim for light that’s bright enough to comfortably read a feed tag but soft enough that the corners still look cozy.
A simple rule of thumb for a small backyard coop:
- 4–6 watts of LED per 40–50 square feet usually does the job.
- One modest bulb hung high often beats several bright bulbs shining in their faces.
My current setup in the layer coop uses one main overhead LED and one smaller light near the nest boxes. Nothing fancy, but it gives a nice even glow without harsh shadows.
Timing your chicken coop lighting for egg production
Good lighting isn’t just about the bulb, it’s about when it’s on. If you get the timing wrong, you’ll have sleepy hens, wasted power, and maybe even a few birds trying to roost on the feeder because they got surprised by sudden darkness.

Morning light vs. evening light
I learned this lesson the hard way. Years back, I set my lights to come on in the evening, keep things bright, and then shut off at a fixed time. One night, the timer kicked off like a switch, which it was, and half the flock was still scratching around on the floor. They couldn’t see well enough to find the roosts, and I ended up with a pile of cranky hens huddled anywhere they could.
Since then, I’ve almost always favored morning lighting. I let nature handle sunset, and I use the timer to lengthen the day at the front end.
Here’s a simple schedule that’s worked well for me in winter:
- Let the sun handle the evening. Lights stay off after sunset.
- Set coop lights to turn on 2–4 hours before sunrise.
- Lights go off once the sun is fully up and the coop is bright.
Why a timer is your best farmhand
Using a simple timer saves you from running out to the coop at 5 a.m. with a flashlight. It also keeps your routine consistent, which hens appreciate more than you might think.
When you’re picking chicken coop lighting for egg production, look for setups that work well with:
- Programmable timers you can set and forget, but still adjust easily.
- Backup manual control in case of power blips or a change of plans.
I like to review my timer settings every month or so as sunrise and sunset change. It takes five minutes and keeps me a step ahead of the season.
Keeping hens calm and safe around artificial light
A bright coop with nervous birds is no good. You want light that supports laying, but you also want hens that feel safe, calm, and settled. A calm hen lays better than a stressed one, and she’s a lot nicer to be around too.

Light placement: where to hang your bulbs
Here are a few habits that have served me well:
- Hang lights above head height (your head, not the hens’). This spreads the glow and keeps birds from staring straight into the bulb.
- Avoid shining light directly on roosts. Hens like a slightly dimmer roost area so they can settle in at night.
- Give nest boxes gentle light, not darkness. Too dark and they might see it as a hiding place, which can invite pests or broody behavior you don’t want.
Light color and hen behavior
Over time I’ve noticed that warmer light makes for a more relaxed flock. Under harsh, very white light, my more nervous hens paced more and pecked a bit harder at their neighbors.
So when you shop around for chicken coop lighting for egg production, lean toward that soft, warm color range and avoid lights that feel like operating-room brightness. Your birds will show you how they feel about it by how much fuss you hear when you close the coop at night.
Balancing production and hen health
I’m a farmer, but I’m also a bit of a softie. Yes, I want good egg numbers. But I also care that my hens live good lives. A healthy hen lays better for longer, and frankly, my coffee tastes better when I know I’m treating them right.

Don’t skip the natural rest cycle
Even with good chicken coop lighting for egg production, I let my birds have some kind of natural slowdown from time to time. Some years, I’ll reduce the light just a bit in late winter, let them coast for a few weeks, and then bring it back up as spring comes on.
That small “break” seems to help older hens in particular. Their feathers look better, and they don’t burn out as fast. You don’t have to do this, but it’s something to keep in mind if you’re running a small, family-scale flock.
The rest of the picture: feed, water, and air
Light is powerful, but it can’t do the job alone. To really keep that egg basket full, make sure you’ve got:
- Good layer feed with enough protein and calcium.
- Fresh, unfrozen water all day long (heated waterers help a lot in winter).
- Dry bedding and fresh air to keep lungs clear and feet clean.
- Enough space so hens aren’t overcrowded and bullying each other.
I like to say, “Light tells them when to lay, but feed and care decide whether they can.”
Simple step-by-step plan for better egg production with coop lighting
If you’re feeling a little overwhelmed, don’t worry. Setting up chicken coop lighting for egg production doesn’t have to be complicated. Here’s a straightforward plan you can follow over a weekend.

1. Decide on your goal
First, be honest with yourself. Do you want steady eggs year-round, or are you okay with a gentle winter slowdown? Your answer will guide how strict you are with the lighting schedule.
2. Pick a safe, sturdy light setup
Choose LED fixtures or bulbs that are rated for barns, garages, or damp spaces. You want something tough enough to handle dust and a bit of bumping. Make sure all wiring is protected from curious beaks.
3. Add a timer and set your hours
Plug your coop lighting into a simple timer and start with 14 hours total light in winter. If natural daylight gives you 9 hours, you’ll add about 5 hours with the timer, mostly in the early morning.
4. Watch your hens for 2–3 weeks
Keep an eye on:
- Egg count (write it down; your memory will lie to you).
- Feather condition and body weight.
- Behavior at roosting time—calm, or noisy and restless?
Make small adjustments rather than big swings. Hens like consistency more than perfection.
5. Tweak gently as seasons change
In spring and fall, adjust your timer to stay close to that 14–16 hour window. In summer, you may end up using little or no artificial light at all.
Common mistakes with chicken coop lighting (I’ve made most of them)

Let me save you from a few headaches I’ve already lived through:
Too much light, too fast
Jumping from 9 hours of dim winter light to 16 hours of bright LED overnight can shock the birds. If you’re increasing the day length, do it slowly—15–20 minutes per week is a nice, gentle pace.
Light shutting off suddenly at night
A hard “lights out” can leave hens stumbling off the roost, especially younger birds. That’s another reason I prefer morning lighting. Let the sun be the dimmer switch in the evening.
Ignoring dark corners
If part of the coop is very dark while another part is bright, you may see sneaky egg laying in the shadows. I once found a whole stash of eggs hidden behind a feed bin because that spot was just dark enough and cozy enough to seem like a secret nest.
Aim for even, gentle light that reaches all the busy parts of the coop—feeders, waterers, and nest boxes.
FAQ: Chicken coop lighting for egg production
If you’re ready to fine-tune your setup after all this talk about chicken coop lighting for egg production, take a quiet stroll through some coop and lighting options that match the ideas we’ve covered. Picture how they’d fit your birds, your yard, and your mornings.
Show me coops