
Chicken coop plastic wrap
How a simple layer of plastic can keep your hens laying strong, even when the wind cuts like a knife.
I’ve raised laying hens through more Midwest winters than I can count on both hands. Snow up to the knees, wind howling through the trees, water frozen solid by breakfast time. One of the cheapest little tricks that’s saved my flock, year after year, is using chicken coop plastic wrap the right way.
Done right, plastic wrap turns a drafty run into a cozy windbreak, keeps bedding dry, and helps your girls stay busy and laying instead of shivering on the roosts. Done wrong, it traps moisture, invites frostbite, and turns the coop into a greenhouse sauna the first sunny day.
Let me walk you through how I use chicken coop plastic wrap on my own farm, what I’ve learned the hard way, and how you can keep your hens comfortable without wrapping their home up like a leftover sandwich.
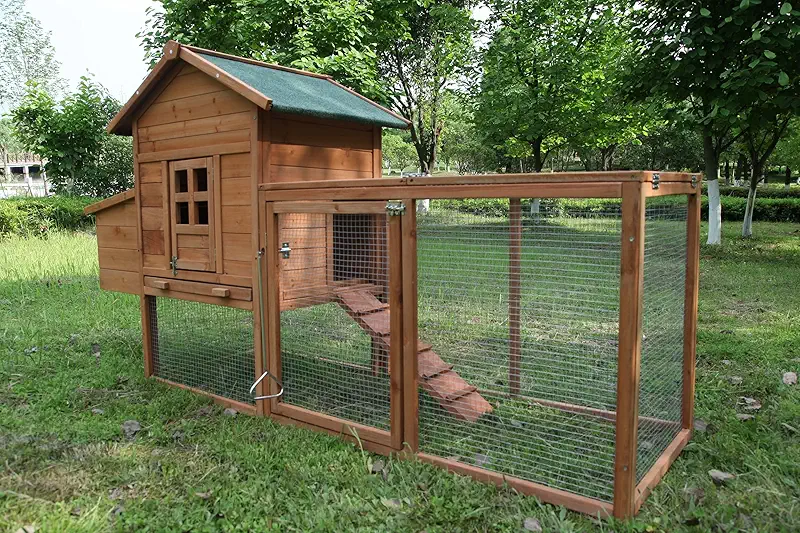
Why chicken coop plastic wrap helps hens in winter
Chickens handle cold better than most folks think. What they do not handle well is cold wind and damp air. Feathers are a fine winter coat, but even a fluffy Buff Orpington feels that north wind when it cuts straight through the run. That’s where chicken coop plastic wrap earns its keep.
Think of plastic wrap as a windbreaker jacket for your coop and run, not a full-blown parka. It blocks drafts, sheds rain and snow, and lets the sun warm things up without turning your coop into a sealed plastic bubble.
What plastic wrap actually does for your flock
- Blocks wind: Calm air lets hens keep a warm “bubble” of air in their feathers.
- Stops drifting snow: No more waist-deep snow piled in the run by morning.
- Keeps bedding drier: Dry litter means fewer smells and healthier feet.
- Makes a sunny spot: Clear wrap turns winter sun into a simple heat boost.
- Reduces stress: Calm birds lay better and stay healthier.
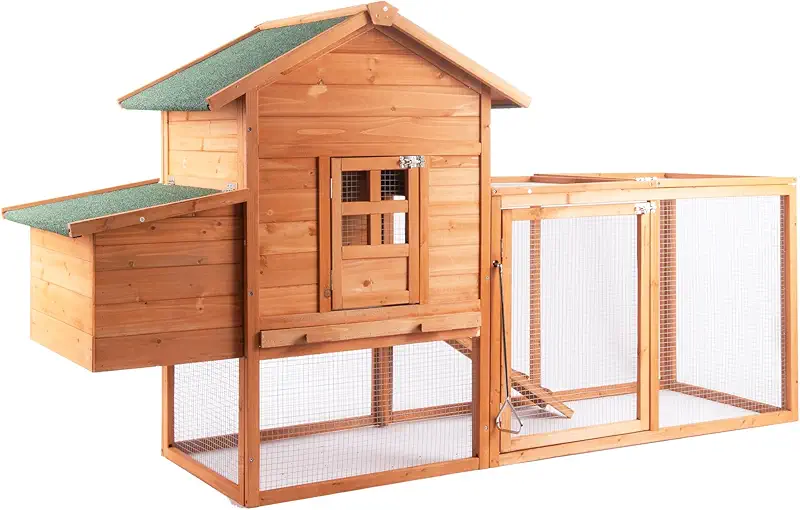
Coop plastic wrap vs. solid walls and tarps
Over the years I’ve tried plywood, old feed sacks, tarps, and just about any scrap I had lying around the barn. They all work in their own way, but clear plastic wrap has some big advantages for a chicken coop.
| Option | Main benefit | Main drawback | When I use it |
|---|---|---|---|
| Chicken coop plastic wrap | Blocks wind but lets in light | Can trap moisture if overused | On runs and open sides of coop |
| Blue or green tarps | Very sturdy and reusable | Dark and flappy in the wind | Temporary windbreak during storms |
| Plywood or boards | Strong and long lasting | More expensive and heavy | Permanent north-wall protection |
| Nothing at all | Great ventilation in mild weather | Drafty, harsh in real winter | Spring, summer, and early fall |
The main reason I like chicken coop plastic wrap is light. Chickens are daylight-driven animals. Darken their world too much and egg production slows down. Clear plastic keeps the run bright, even on short winter days, and gives your hens a place to stretch and scratch when the ground is frozen.
I usually save my tarps for tractors and hay, and let the hens enjoy the sunshine through clear plastic when I can.
Where to put chicken coop plastic wrap (and where not to)
Before you roll out the plastic, step back and look at how wind and weather hit your coop. Around here, the worst comes from the north and west, so that’s where most of my plastic lives.
Good places for plastic wrap
- Windward side of the run: Wrap the side that takes the hardest wind, usually north or west.
- Lower half of open walls: Block drafts at bird level, leave some venting up high.
- Snow-facing corners: Any corner that collects drifting snow is a great candidate.
- Roof edges that drip: A strip of plastic can guide water away from the run wall.
I like to leave the south side more open when I can, so the hens get fresh air and winter sunshine on calm days.
Places to avoid wrapping up tight
- Over vents near the roof: Your coop still needs a place for moist air to get out.
- Across the only window: Leave at least one good light source for short winter days.
- Over pop doors 24/7: You can drape around the door, but don’t seal it shut with plastic.
- Inside the coop walls: Keep plastic outside, not against bedding or wood inside.
How to install chicken coop plastic wrap so it survives a real storm
A loose, flappy sheet of plastic will drive you and the chickens crazy. It sounds like a thunderstorm every time the wind kicks up. A tight, well-secured sheet moves quietly and lasts the whole season. Here’s how I usually put mine up.
Step-by-step farmer method
- Measure your panels: Measure the sides of your run or coop you want to cover. Add a little extra on each edge.
- Cut on a calm day: Wind will whip that plastic like a sail, so pick your moment.
- Start at the top edge: Secure the top edge first with staples, screws and washers, or good zip ties.
- Pull it snug downward: Work your way down, keeping the plastic tight but not stretched to tearing.
- Secure the sides: Put fasteners every foot or so along the sides to keep it from flapping.
- Leave breathing gaps: Skip covering small sections up high for ventilation.

For hardware cloth runs, I like to “stitch” the wrap on with zip ties through little punched holes. For wood, wide-head screws with washers spread the pressure and keep the plastic from tearing on windy nights.
Choosing the right kind of plastic wrap for your coop
Not all plastic is the same, and I’ve learned that the stuff you grab from the garden shed for tomatoes isn’t always the best fit for chickens. When you look at chicken coop plastic wrap, keep a few simple things in mind.
Key things I look for
- Thickness: I like heavier plastic that doesn’t shred in the first storm.
- UV resistance: Sun breaks down cheap plastic fast; UV-treated lasts longer.
- Clarity: Clear wrap brings in more light than cloudy or tinted plastic.
- Width of the roll: A roll wide enough for your run wall means fewer seams.
- Reusability: If it survives one season, I can often reuse it in another spot.
If I’m unsure, I always lean a little heavier. I’d rather fight a stiffer sheet on install day than pick up shreds across the field after the first winter squall.

There are plenty of good options that folks use for greenhouses, temporary sheds, and coop runs. Browsing through different chicken coop plastic wrap choices can give you a feel for thickness, clarity, and size that matches your setup.
Keeping good ventilation with plastic wrap in place
If there’s one thing I repeat every winter to new chicken keepers, it’s this: cold won’t kill your hens as fast as damp, still air will. When you use chicken coop plastic wrap, you’ve got to think like a chimney builder, not like someone wrapping a present.
Simple “chimney” rule for coops
- Dry air in low, moist air out high: Let fresh air enter below and give warm, moist air a way out up near the roof.
- Protect the birds, not the whole wall: As long as drafts don’t hit them on the roost, they’ll be fine.
- Watch the windows: If they’re foggy all day, you need more ventilation.
- Check the smell: Strong ammonia smell means poor airflow, even in winter.

You can use plastic wrap smartly by leaving triangles or strips at the top edges of the run and coop uncovered. That way, you get the best of both worlds: calm air at bird level and steady, gentle airflow up high.
Keeping your laying hens productive all winter long
A big reason folks turn to chicken coop plastic wrap is to keep those egg baskets from going empty in January. While you can’t turn December into June, a snug run and dry coop go a long way toward steady egg production.
Little comforts that make a big difference
- Dry, deep bedding: I like a deep layer of dry shavings or straw that stays fluffy and warm underfoot.
- Draft-free roosts: Hens should sit away from any wind tunnels, with space to tuck their toes.
- Room to move: A plastic-wrapped run lets them scratch and dust bathe even in bad weather.
- Warm water: Replace frozen water often; hens won’t drink ice and that hurts egg laying.
- Steady feed: Good protein and enough calories keep the egg factory running.

When my hens have a sheltered, bright run thanks to plastic on the windy sides, they spend the coldest days scratching through bedding, hunting for corn bits, and gossiping to each other like old ladies on a porch. Busy hens are healthy hens, and healthy hens keep laying.
Common mistakes with chicken coop plastic wrap (and how to dodge them)
I’ve made just about every mistake with plastic and chickens you can imagine. If my stories spare you from a soggy coop or a shredded tarp, then they’re worth telling.
Missteps I see all the time
- Sealing every opening: Good intentions, bad results. Moisture and ammonia build up fast.
- Thin plastic on windy hills: One hard gust and you’ve got confetti across the pasture.
- Covering south windows: That’s your free heat and light — protect it when you can.
- Ignoring edges and corners: Wind sneaks into loose corners first, then peels the whole sheet.
- Not checking after storms: One loose staple today becomes a ripped sheet tomorrow.

FAQ about chicken coop plastic wrap
1. Is chicken coop plastic wrap safe for my hens?
Used on the outside of the run or coop, chicken coop plastic wrap is generally safe. The main thing is to keep it tight so birds don’t get caught in loose panels or peck at dangling strips. I always put it on the outside of wire or framing, not where they can chew it directly. Give them space to move, plenty of ventilation, and check for any sharp edges or torn spots after storms.
2. Will plastic wrap keep my coop warm without any heat lamps?
Plastic wrap alone won’t turn your coop into a sauna, and that’s actually a good thing. What it does is block the wind and help the coop hold the birds’ natural body heat a little better. Most healthy laying hens do fine all winter with no heat lamps at all, as long as they’re dry, out of drafts, and well fed. Plastic wrap is more of a jacket than an electric blanket.
3. How do I avoid moisture and frostbite when using plastic?
Leave vents near the roof open, even in cold weather, and don’t cover every inch with plastic. Watch for fogged windows, damp bedding, strong smells, or blackened comb tips — those are warning signs. I aim to protect the run and the lower walls from wind, but I always keep some high openings for air to escape. Dry air and a gentle breeze up high help prevent frostbite more than extra heat does.
4. When should I put on and take off the plastic wrap?
I usually hang the plastic when the forecast starts showing regular freezing nights and cold winds — not just a one-night frost. That’s often late fall for me. I take it down when the days warm up and the coop starts feeling stuffy in the sun. If you find yourself opening doors wide most afternoons, it’s probably time to start peeling some panels off so the coop can breathe again.
5. Can I reuse chicken coop plastic wrap next year?
If you buy a sturdier, UV-treated wrap and take it down carefully, you can often reuse it for another season or move it to a different project. I roll mine up, label which side it came from, and store it in a dry corner of the barn. Just check for cracks or weak spots in the fall. If it looks cloudy, brittle, or full of tiny tears, I retire it and look at fresh options.
Ready to give your hens a cozier winter home?
A little thought and a few sheets of chicken coop plastic wrap can turn a cold, drafty setup into a place where your birds ride out winter calm and content. Warm enough, dry enough, bright enough — that’s the goal. Your reward is a healthy flock, cleaner combs, and more fresh eggs on the table when the snow piles up outside.
If you’re thinking about new shelters, bigger runs, or just want to see how others are setting things up, looking through different chicken coop options can spark a lot of good ideas. I still browse around myself when I’m plotting the “next better version” of my own setup.