
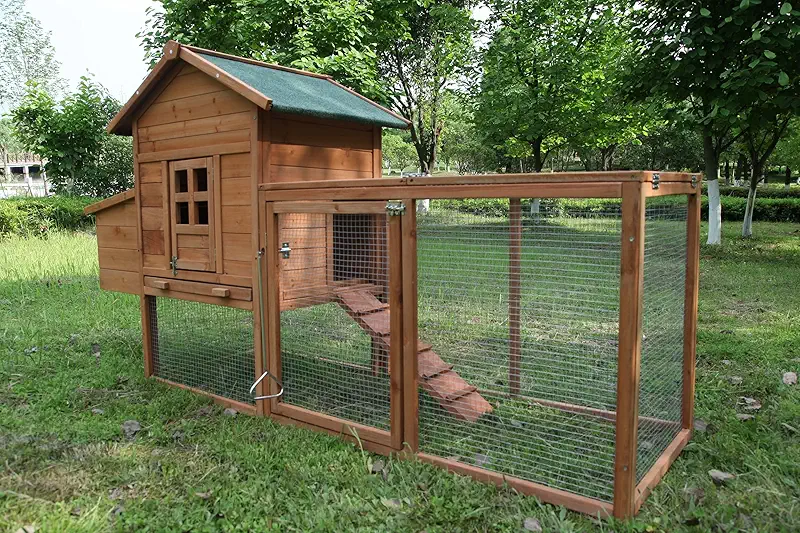
Why I started using vinyl siding on my coops
When I built my first coop, I was young, broke, and stubborn. I slapped together some cheap plywood, threw on a bit of paint, and called it good. Two winters later the bottom edges were soft as a wet biscuit, and the paint peeled like sunburned skin. The hens were still laying, but you could feel the drafts, and I was out there with a hammer every weekend patching something.
A neighbor of mine, old Joe, came over one day, shook his head at my sad little shack and said, “You know, we put vinyl on the house so we don’t have to paint. Why not on the coop?” I laughed, but the more I thought about it, the more it made sense. Hens don’t care if the coop looks like a tiny house, but I sure cared about not scraping and repainting every couple of years.
So I wrapped the next coop in housewrap, put up vinyl siding, and watched it through rain, snow, hail, and a couple of good Midwestern windstorms. The wood underneath stayed solid and dry. My repair bucket got a lot more dust on it after that, and that’s a kind of dust I don’t mind.
Pros and cons of vinyl siding for chicken coop walls
Vinyl siding isn’t perfect, but it solves a lot of headaches that come with raising layers long‑term. Here’s how it has behaved on my farm, warts and all.
What I like about it
- Low maintenance. I hose it off once or twice a year when the dust and cobwebs build up.
- Protects your framing. Keeps driving rain off the wood so your studs and sheathing stay sound.
- Handles wild weather. Our hot summers and freezing winters haven’t bothered it much.
- No peeling paint. I’ve had enough of paint chipping into the bedding.
- Looks tidy. Neat siding makes neighbors and spouses happier about more coops.
What to watch out for
- Not structural. Vinyl is just a shell; you still need solid framing and sheathing.
- Can crack if abused. Hard hits in winter can snap a panel.
- Mice love gaps. Any loose corner or open joint is an invitation.
- Heat reflection. Dark colors can get hot in southern sun.
- Improper install. If it can’t move a little, it may warp as seasons change.
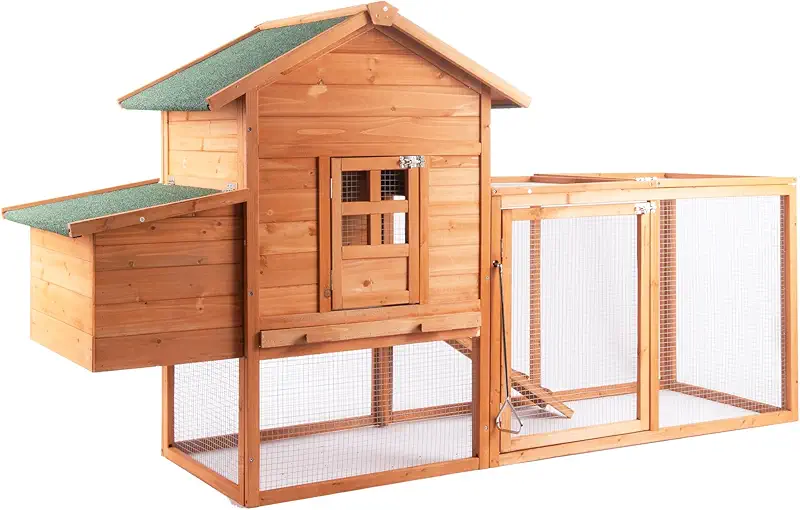
How vinyl siding helps your hens, not just the coop
At the end of the day, the coop is just a tool. The hens are the point. When I started thinking that way, a lot of my building choices changed. Vinyl siding is really just one piece of a bigger puzzle: keeping birds healthy, dry, and laying steady.
Dry walls mean less damp air inside. Less damp air means fewer respiratory issues, less frostbite on combs, and less stink rising when you open the door in the morning. When your walls aren’t leaking, your bedding stays decent longer. That saves time, money, and your back.
I’ve noticed that in well‑built, dry coops, hens stay more active in winter. They hop on the roosts, talk to each other more, and keep eating well. In cold, drafty sheds, they hunker down and spend their energy staying warm instead of making eggs. I don’t blame them one bit.
The comfort chain: siding, insulation, bedding, eggs
I like to think of hen comfort as a chain:
- Siding keeps water out. Vinyl blocks wind‑driven rain and snow.
- Sheathing and insulation smooth out temperatures. No hot and cold spots right behind the walls.
- Good bedding stays dry. Dry litter breaks down better and smells less.
- Dry, steady air means calmer hens. Calm hens lay better and get sick less.
Miss one part of that chain and the rest has to work harder. Vinyl siding, done right, is the outer shell that lets the whole system behave.

Building or upgrading a coop with vinyl siding
Whether you’re starting from scratch or skinning an old shack, the steps are pretty similar. Don’t be fooled by fancy diagrams. A coop wall is really just a little house wall that smells like chickens.
My usual wall “sandwich”
Here’s the stack I’ve used on several coops that have survived more than a decade:
- Studs: 2x4s, 16 or 24 inches apart, pressure‑treated bottom plate if it touches concrete or soil.
- Sheathing: OSB or plywood, screwed or nailed tight.
- Housewrap: A breathable moisture barrier so the wall can dry but water can’t push in.
- Furring (optional): If needed to straighten things out on an older coop.
- Vinyl siding: Nailed so it can slide a little, never jammed tight.
On the inside, I like simple plywood or boards I can scrub if I have to. White paint inside helps me see mites, cobwebs, and trouble spots early. Chickens are messy roommates; I prefer to see what they’re up to.
Ventilation with vinyl siding
Vinyl siding doesn’t breathe much, and that’s fine. The coop should not breathe through the walls. It should breathe through well‑placed vents up high and through doors and windows you can control.
On my coops, I keep vents near the roofline on opposite walls, covered with hardware cloth. That lets moist air drift out while the hens roost below, out of the draft. The vinyl just protects the shell. The air traffic happens inside, where you plan it.

Daily care tips from a vinyl‑sided coop
Once the coop is wrapped in vinyl, day‑to‑day life with the birds doesn’t change much, but a few little habits will keep that shell working for you instead of against you.
Walk‑around checklist
At least once a week (usually when I bring out kitchen scraps), I take thirty seconds and walk around the coop:
- Look for loose or flapping panels, especially on the windward side.
- Check the bottom edge for signs of digging, chewing, or gnaw marks.
- Make sure corner trim is tight and not pulled away.
- Look for bird droppings or wasp nests under eaves and soffits.
Catching a loose piece early keeps one bad storm from peeling half the wall like a banana. Ask me how I learned that one; the hens were impressed, but I wasn’t.
Cleaning the outside
Dust, pollen, and feathers stick to everything. I usually hose the coop down in late spring and again in early fall:
- Use a garden hose on gentle spray, not a pressure washer up close.
- Start at the top and work down so the dirt follows the water.
- If there’s stubborn grime, a bit of dish soap in a bucket and a soft brush does the trick.
Remember, the hens don’t mind a dirty wall, but a clean one lets you spot cracks, gaps, and critter damage before it gets serious.

Keeping predators out when you use vinyl siding
Vinyl siding looks solid, but raccoons, rats, and weasels know better. They’ll head for seams, corners, and rotten spots faster than a pullet finds the only muddy patch in the yard.
Under every coop wall of mine there is hardware cloth or a solid base. I don’t rely on the siding to stop teeth or claws. Think of the siding as the raincoat, not the armor.
Simple predator‑proofing steps
- Line the lower part of the wall inside with hardware cloth before you close it in.
- Bury an apron of wire mesh 12–18 inches out from the coop perimeter.
- Use solid blocking where runs attach so nothing can wiggle between framing and siding.
- Seal big gaps with wood, not foam alone. Foam is a snack for some critters.
More than once I’ve found claw marks on the outside of the vinyl. It’s a nice reminder that something tried and failed. That’s the kind of story I like.

Vinyl siding for chicken coop: mistakes I wouldn’t repeat
Over the years I’ve made enough mistakes to keep the whole county entertained. Here are a few you don’t need to repeat.
- Going too dark in hot climates. I sided one south‑facing wall a deep color because it looked sharp. The wall didn’t fail, but the coop ran hotter than I liked. Light colors reflect heat better.
- Nailing panels too tight. Beginners love to drive nails tight. Vinyl needs a little wiggle room in the slots, or it can buckle when it expands.
- Skipping housewrap. On one small shed I skipped the wrap to save a few bucks. The inside stayed more damp, and the sheathing aged faster. Not worth it.
- Ignoring the bottom edge. I once left a gap big enough for mice to run between the sheathing and siding. They set up a condo. Now I seal those spots from the start.
The hens forgave me, but I ended up doing more repair work than I care to remember. If you avoid those few missteps, vinyl siding can be a long‑term friend on the farm.

Matching your coop design to your flock
Before you wrap a coop in vinyl, it pays to think about how many birds you really want, not just this year, but in a couple of seasons. Trust me, chicken math is real. You start with four hens “for a few eggs,” and next thing you know, you’re naming roosters and building an addition.
I like to allow at least 4 square feet per bird inside the coop, more if winters are long and they spend plenty of time indoors. When you size the coop generously and protect it well with siding, it becomes a steady home you can lean on year after year.
